The Autel Robotics Live Deck is a video output accessory for use with EVO and EVO II series drones. The live deck unit is going to give you the ability to display exactly what you’re seeing on the Evo drone whenever you need it and In this tutorial, we’re gonna show you how to unbox the live deck and how to set up a stream from the live deck to IncidentShare
Let’s jump ahead and unbox the live deck
When you first open the live deck you’ll see the user guide. Make sure to keep that somewhere warm and safe and feel free to dive into this short tutorial instead – we’ll give you all the details you need to know to start a stream from your live deck to your IncidentShare platform.
- Before you start make sure your antennas are firmly connected to the live deck unit.
- The SMA connectors on the live deck allow you to mount other types and better antennas if needed but for this test, we’re going with the default antennas.
- The default wifi antennas will give you the same range on the live deck as you get with the antennas on the Evo’s remote control which is about 4.3 mile (7 kilometres)
- Obviously, by changing the antennas to more professional antennas you’ll get better reception and a longer range between the drone and the live deck since the live deck is not communicating with the remote controller but the actual drone this could be something to consider. Ideal you’ll install the live deck in a vehicle.
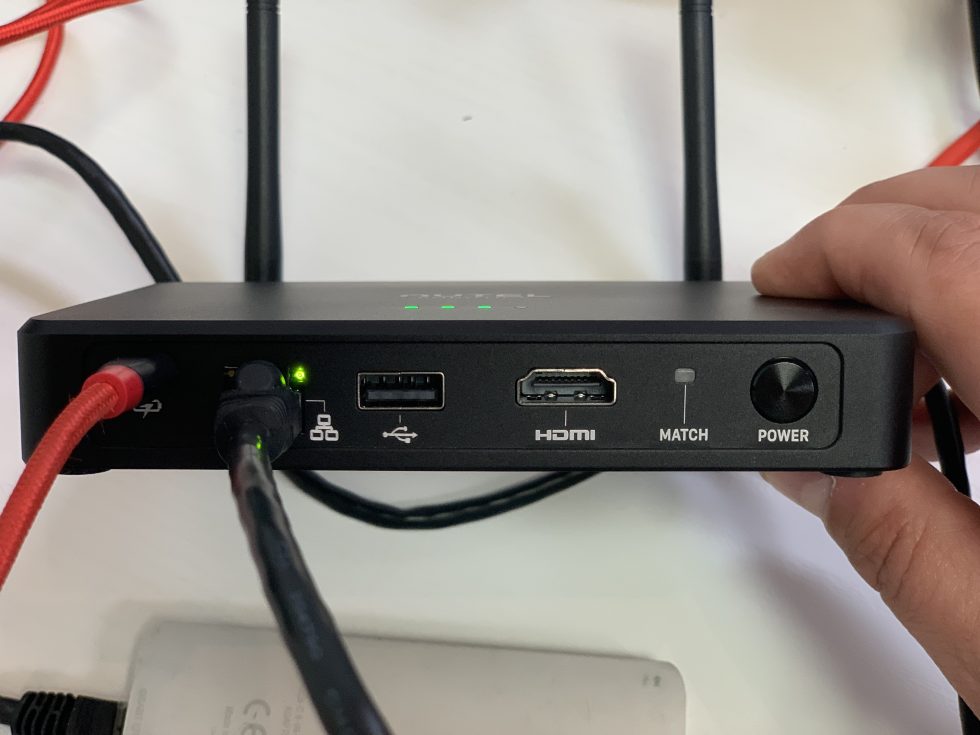
- On the front of the live deck, you’ll find the power button and the “match” (pairing) Led button which you’re going to need to pair the live deck with your drone.
- Next to that, you’ll find an HDMI port that can be used together with an external monitor through an HDMI cable. Make sure that you are not using long cables. 50 feet (15 meters) is generally considered the maximum reliable length but it’s rare to see an HDMI cable longer than 25 feet (7,5 meters) in a store and we recommend it as short as possible.
- Next to the HDMI port, you’ll find a USB-A port which is used together with mobile devices (tablet or phone running the Evo Explorer App) and then the ethernet port which is used to connect a pc (mac, windows)
- The MicroUSB is used to charge the live deck. The unit comes with a 5.000 Milliamp battery which will give approximately 4 hours runtime. You can also plug a MicroUSB cable and use that as a fixed power supply.
- The live deck allows you to run all three video sources (USB to tablet/phone, HDMI to monitor and Ethernet to PC output) at the same time enabling you to get the feed to multiple people at the same time.
|
Outputs |
HDMI, USB, Ethernet |
| Video | 720p / 1080p60fps H.264 |
| Max Transmission Distance | 7km / 4.35 miles |
| Operating Frequency | 2.4GHz |
| Li-po Battery Size | 5000mAH |
| Weight | 400g / 14oz |
To pair the unit you’ll need to do the following:
The next few steps will show you how to pair the unit up and display it on an HDMI monitor. The process is quite simple (you’ll just need to make sure you have charged your drone, remote control and of course the live deck).
- So first thing first, you wanna make sure to take that gimbal protection guard off the Evo drone and then power up the drone and your remote controller.
- Once that’s all set up go ahead and power on the live deck
- When the live deck is on – go to the rear of the Evo drone and click the matching button (just next to the USB plug), so it starts flashing green. After that, your remote controller and the Evo will disconnect just for a second while the drone is trying to find another connection
- Now go to your live deck and find the matching button. Hold the button down for a few seconds until it quickly flashes green and then after 5-10 seconds the drone will find the live deck and pair up.
- Now that we have paired everything together it’s time to set up the live deck in streaming mode.
The No-brainer streaming solution
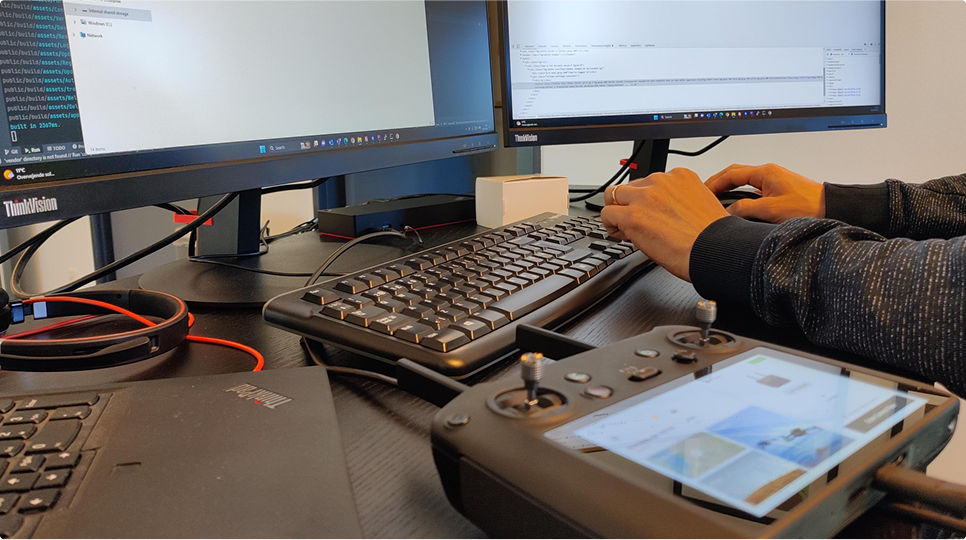
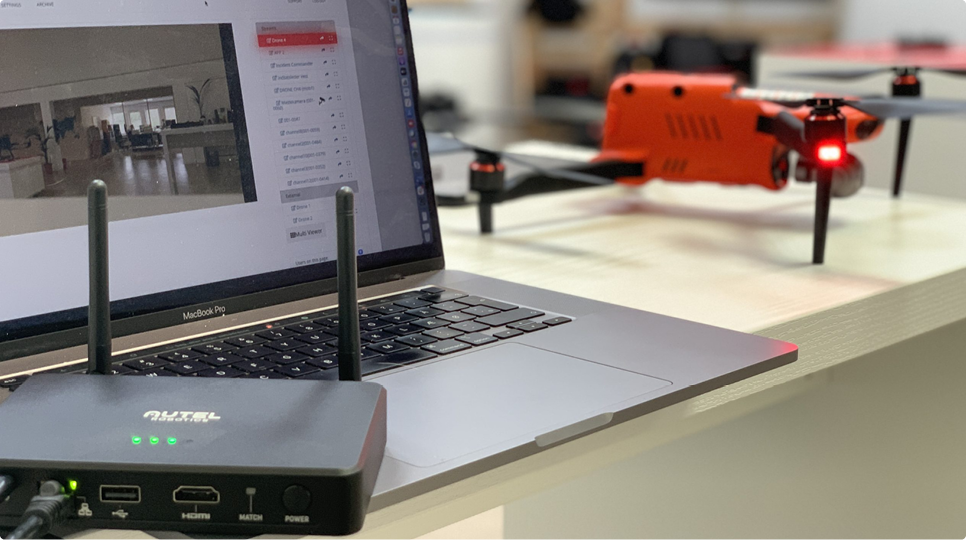
If you have an Incendium Stream Pack or Stream Unit you’ll be able to plug in the HDMI cable and stream right away but if you don’t have specific hardware you need to connect an ethernet cable to your pc to start a stream. The following guide will show you how to connect the Live Deck to your pc and use OBS to start a stream.
Receiving the stream on a pc and re-streaming the video:
If you don’t have a Stream Pack or Stream Unit but wants to see the live video from the live deck, you’ll need the live deck and your pc to be on the same network. Follow these simple steps to stream video from the Live deck to your IncidentShare platform.
Windows 10
- Download and install VLC Player:
- Power on and pair your Live Deck with an EVO or EVO 2 aircraft
- On PC (Windows 10) Connect the Live Deck to your PC with an ethernet cable (always make sure to use shielded Ethernet cables – S/FTP or SF/FTP in-vehicle installations)
- Go to “Settings”
- Select “Network & Internet”
- Click “Network and Sharing Center” at the bottom of the screen
- On the Unidentified network click on “Ethernet” next to connections
- Select “Properties”
- Select “Internet Protocol Version 4 (TCP/IPv4) in the list.
- Make sure the box next to it has a checkmark
- Click “Properties”
- Select the dot for “Use the following IP address”
- IP Address: 192.168.0.200
- Subnet Mask: 255.255.255.0
- Leave the rest blank and click “Ok”
- Open VLC Player
- Click Media -> Open Network Stream
- In the “Network” tab enter this URL: rtsp://192.168.0.1/realtime
- Click the box “Show more options”
- Change Caching to 50ms, this setting is for an average strength computer
- This setup only needs to be performed once on the transmitting computer unless the transmitting computer is plugged back into an ethernet port providing internet service. Then use the following steps:
- To Plug back in the ethernet cable, follow the instructions back through to Step 3 and recheck the box for “Obtain an IP address automatically” and click Ok.
- User will have to set up the ethernet connection on the transmitting computer again before use of Live Deck
MacOS
- Download and install VLC Player:
- Power on and pair your Live Deck with an EVO or EVO 2 aircraft
- On macOS Connect the Live Deck to your computer with an ethernet cable
- Open “System Preferences” (click on the apple icon in the upper left corner)
- click “Network”
- Select the correct ethernet adapter
- Choose “Manually”
- Input IP Address: 192.168.0.200
- Subnet Mask: 255.255.255.0
- Click “Apply”
- Open VLC Player
- On the menu bar select “VLC” then “Preferences”
- On the bottom left select “Show all”
- On the left menu bar, select “Stream output”
- Change the value in the box for “Stream Output Mixer Caching (ms)” to 50.
- Select “Save”
- Select “File” and “Open Network
- In the “Network” tab enter this URL: rtsp://192.168.0.1/realtime
- Click “Open”
- This setup only needs to be performed once on the transmitting computer unless the transmitting computer is plugged back into an ethernet port providing internet service. Then use the following steps:
- Plug back in the ethernet cable, follow the instructions back through to Step 3-c-i and select “Using DHCP” and then “Apply”
- User will have to set up the ethernet connection on the transmitting computer again before use of Live Deck
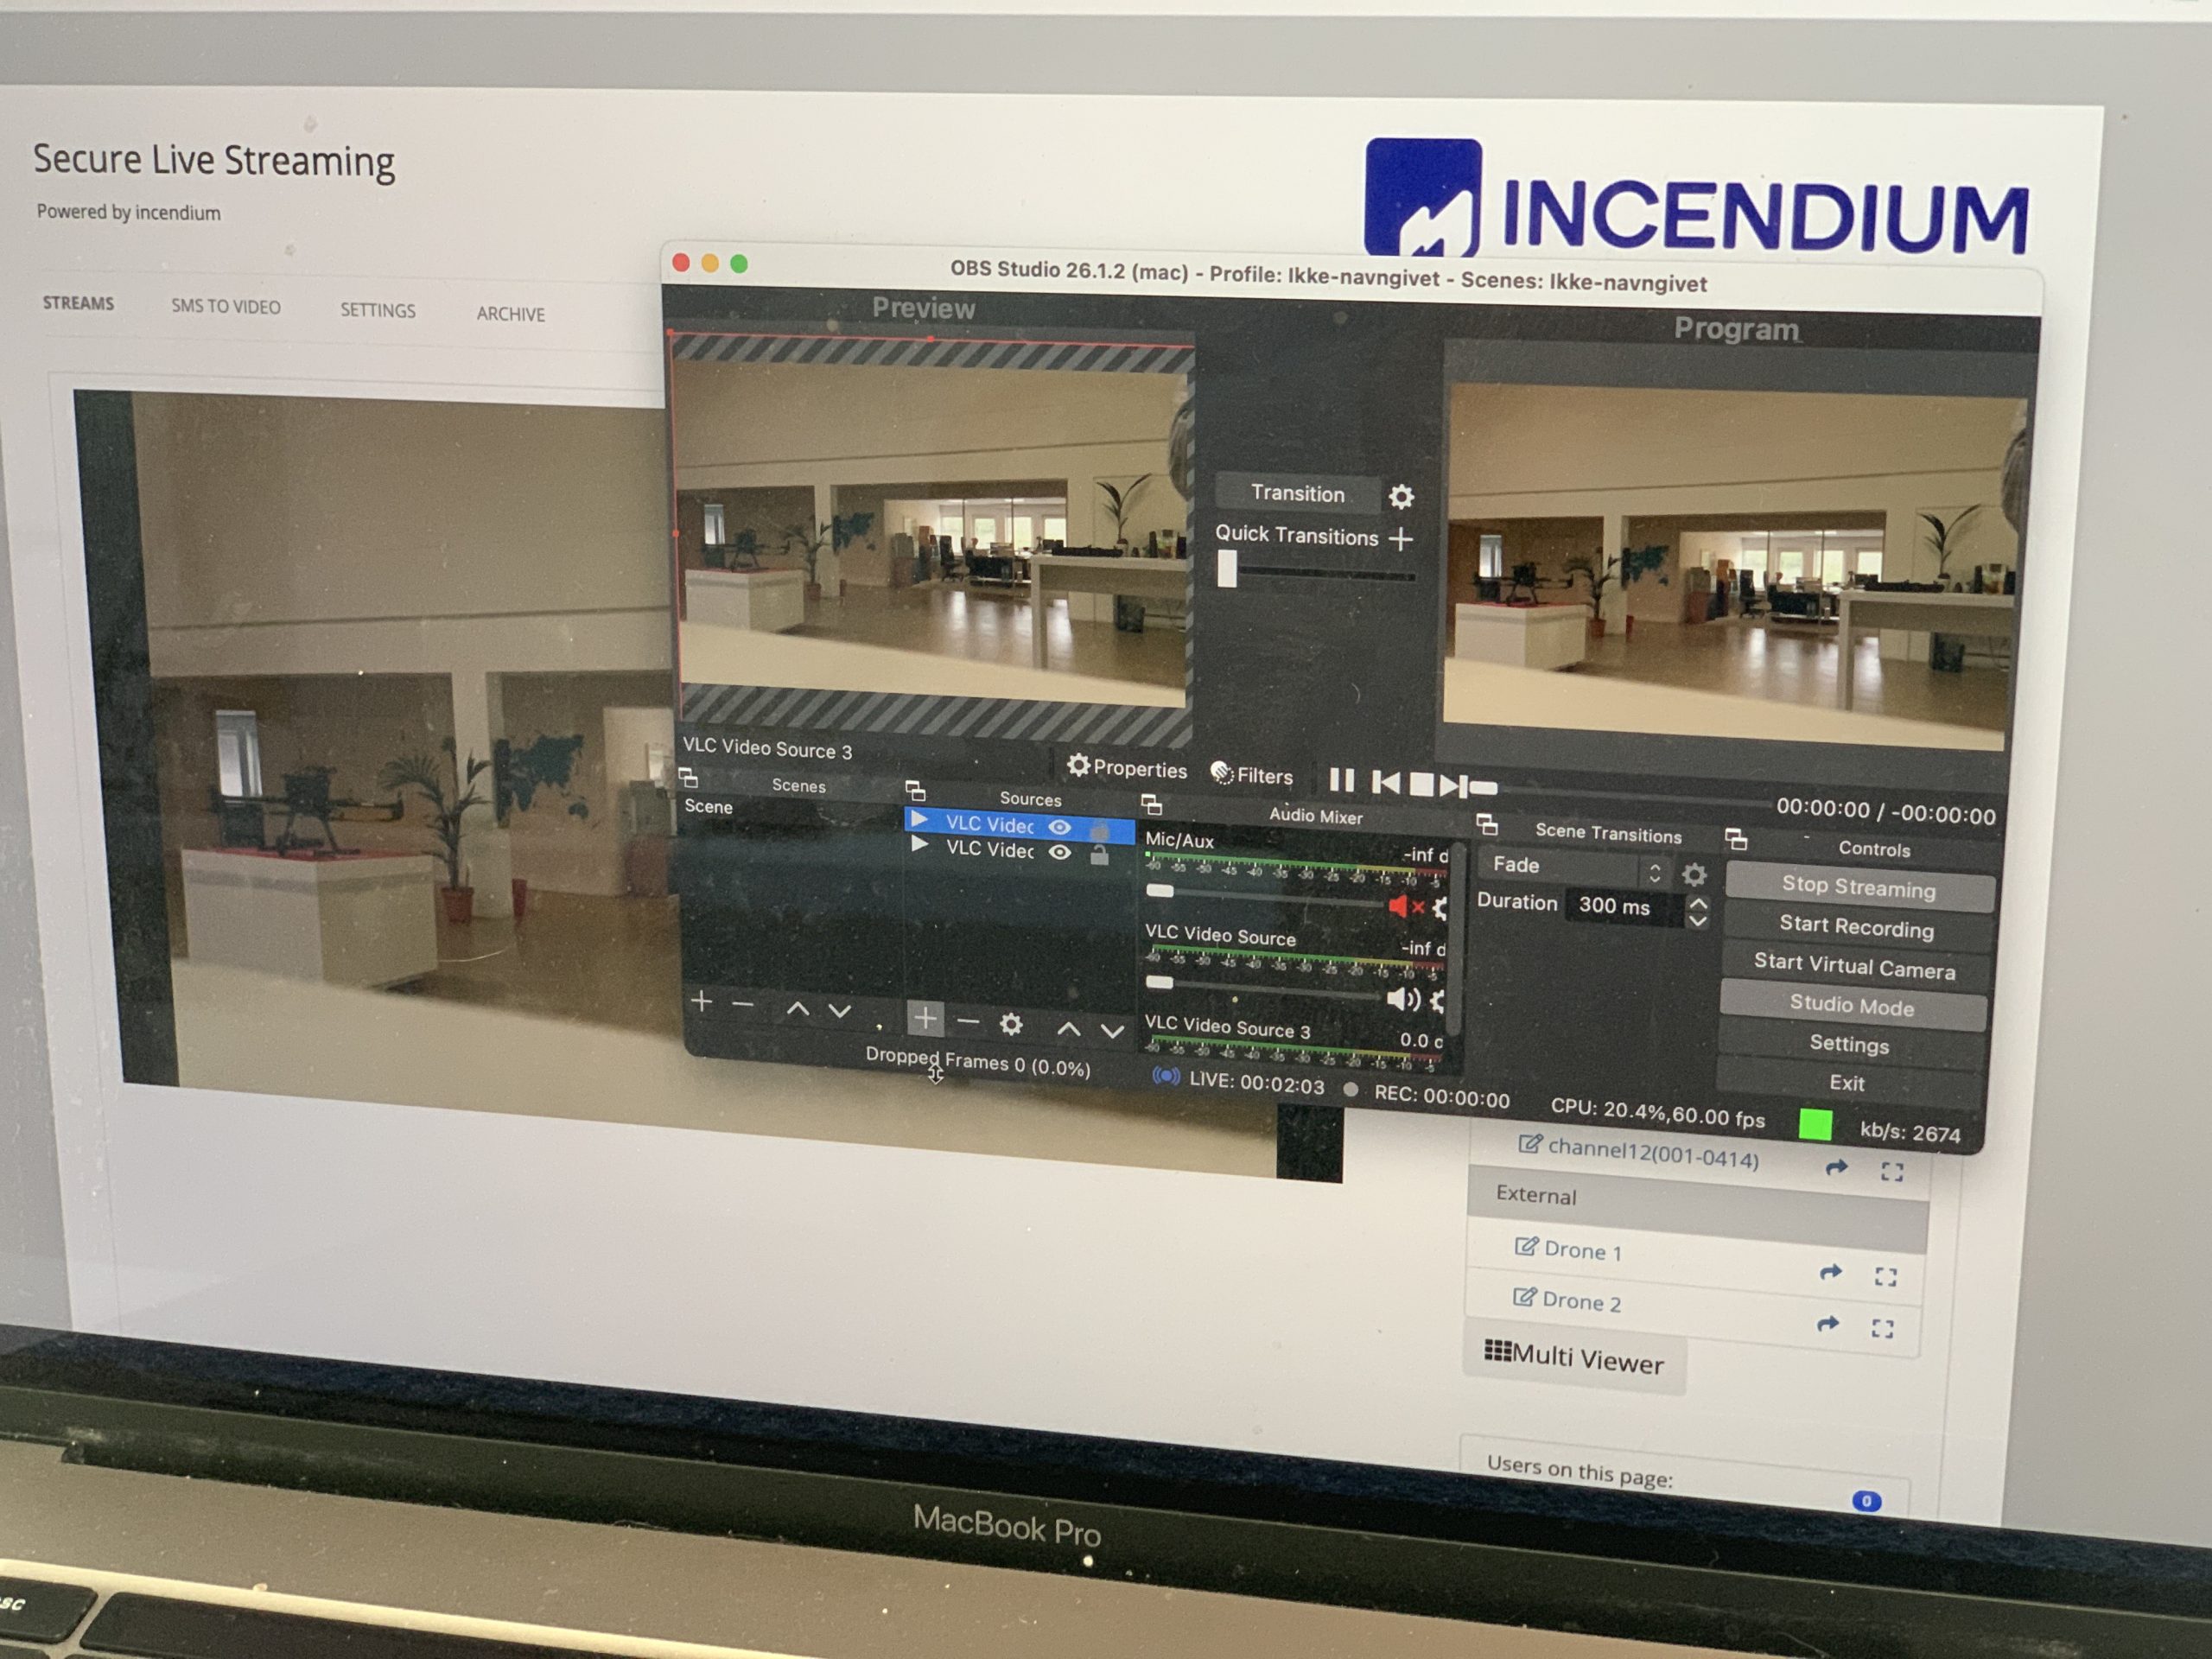
Starting your first live stream using OBS
Now we’re ready to start our first live stream to our streaming platform and to stream video from the VLC player, we’re going to use a free software called OBS (Open Broadcast Software). If you don’t already have this software installed make sure you install this now.
- Open OBS and in the “Source” tab click on the plus icon
- Select “VLC Video source”
- Select “create new” and click OK
- In the playlist click on the plus sign and choose “add path/URL” now type rtsp://192.168.0.1/realtime (If you have changed the default IP address then make sure to write this instead) and click “ok” and “ok” again to finish the installation
- In the preview window, you can now see the video stream.
- Press the stream settings menu and type your RTMP url.
- Start a stream